


FULL GLUE
Perfect hold thanks to glue on the whole surface of the glass

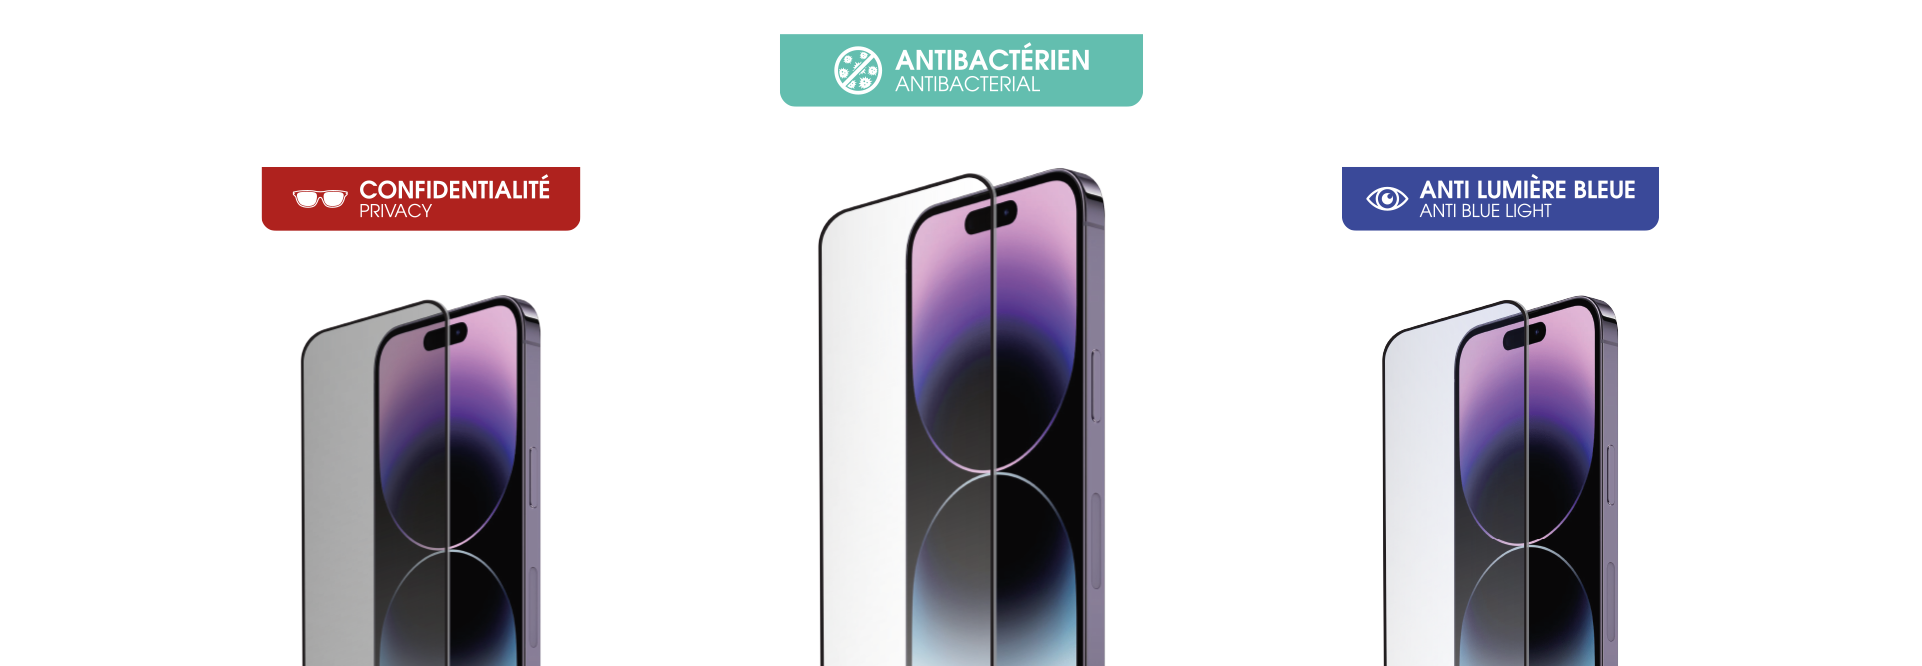
CASE FRIENDLY
Compatibility with all cases

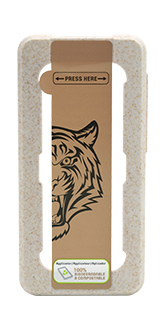
EASE OF USE
An integrated applicator to allow easy and instant installation

PRECISION
Foolproof tactile sensitivity: no more fumbling to type a message, Tiger + is accurate and effective

DURABILITY
An ultra resistant glass that will last the life of your phone, guaranteed for life

BENEFIT
Lifetime warranty and customer service. Unsurpassed quality
INSTALLATION DEMO
INSTALLATION GUIDE
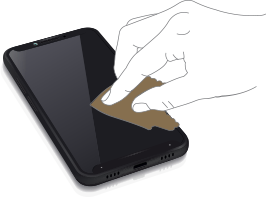
STEP 1 : CLEAN THE SCREEN
Clean the screen with the wet cloth and wipe with the dry cloth provided.
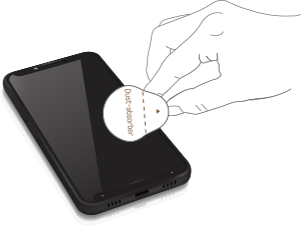
STEP 2 : CAREFULLY REMOVE
Carefully remove the dust with the adhesive provided.
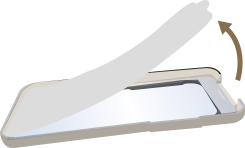
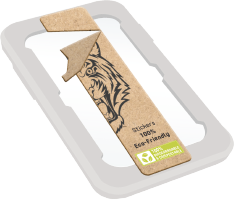
STEP 3 : REMOVE THE PROTECTION PLATE
Remove the protection plate.
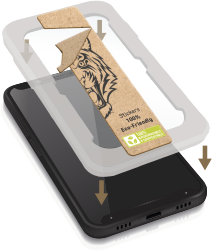
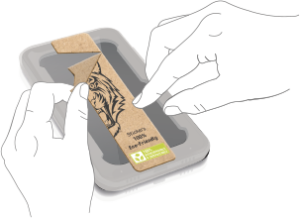
STEP 4 : APPLY AROUND THE PHONE SCREEN
Place the applicator around the phone screen to apply the tempered glass.
STEP 5 : PRESS THE GLASS
Press the glass with your finger from top to bottom in its center then from left to right to fix it.
STEP 6 : REMOVE THE WHITE GUIDE
Carefully remove the white guide then the applicator, while maintaining the pressure on the glass.

STEP 7 : REMOVE REMAINING BUBBLES
To remove remaining bubbles, use the dry wipe to sweep them towards the outside.